
DIY Beeswax Food Wraps
How to make DIY Beeswax Food Wraps!
There is so much passion around saving our environment these days. And rightfully so. But sometimes I feel a bit powerless about what I can do, other than recycling at home. Beeswax wraps have been a huge hit in the last 2 years as a responsible substitute for plastic wraps, and since I have access to my own beeswax, I thought I would try making my own!
After much trial and error, and consultation with other makers, I’ve decided on a recipe that works really well. It’s a bit more complicated than just beeswax though. The secret to the right consistency, wrapability, and not being overly sticky, is pine resin (or rosen). That and jojoba oil.
Before starting, be sure to read through the instructions thoroughly and give consideration to how and where you are doing this. Proximity to oven, workspace, utensils, drying, clean up etc.
Gather together the following ingredients:
35 g beeswax that is broken into small pieces, grated or you can buy it in small pastilles
15 ml jojoba oil (preferably organic)
10 g pine resin (sourced sustainably)
100% cotton fabric (preferably organic)
parchment paper
large cookie sheet
fresh paint brush (1” or so)
stir stick (may be difficult to clean after, so a popsicle stick or something you can discard)
gloves
clothespins and line to hang wraps to dry (optional but consider how you are going to dry them when still tacky)
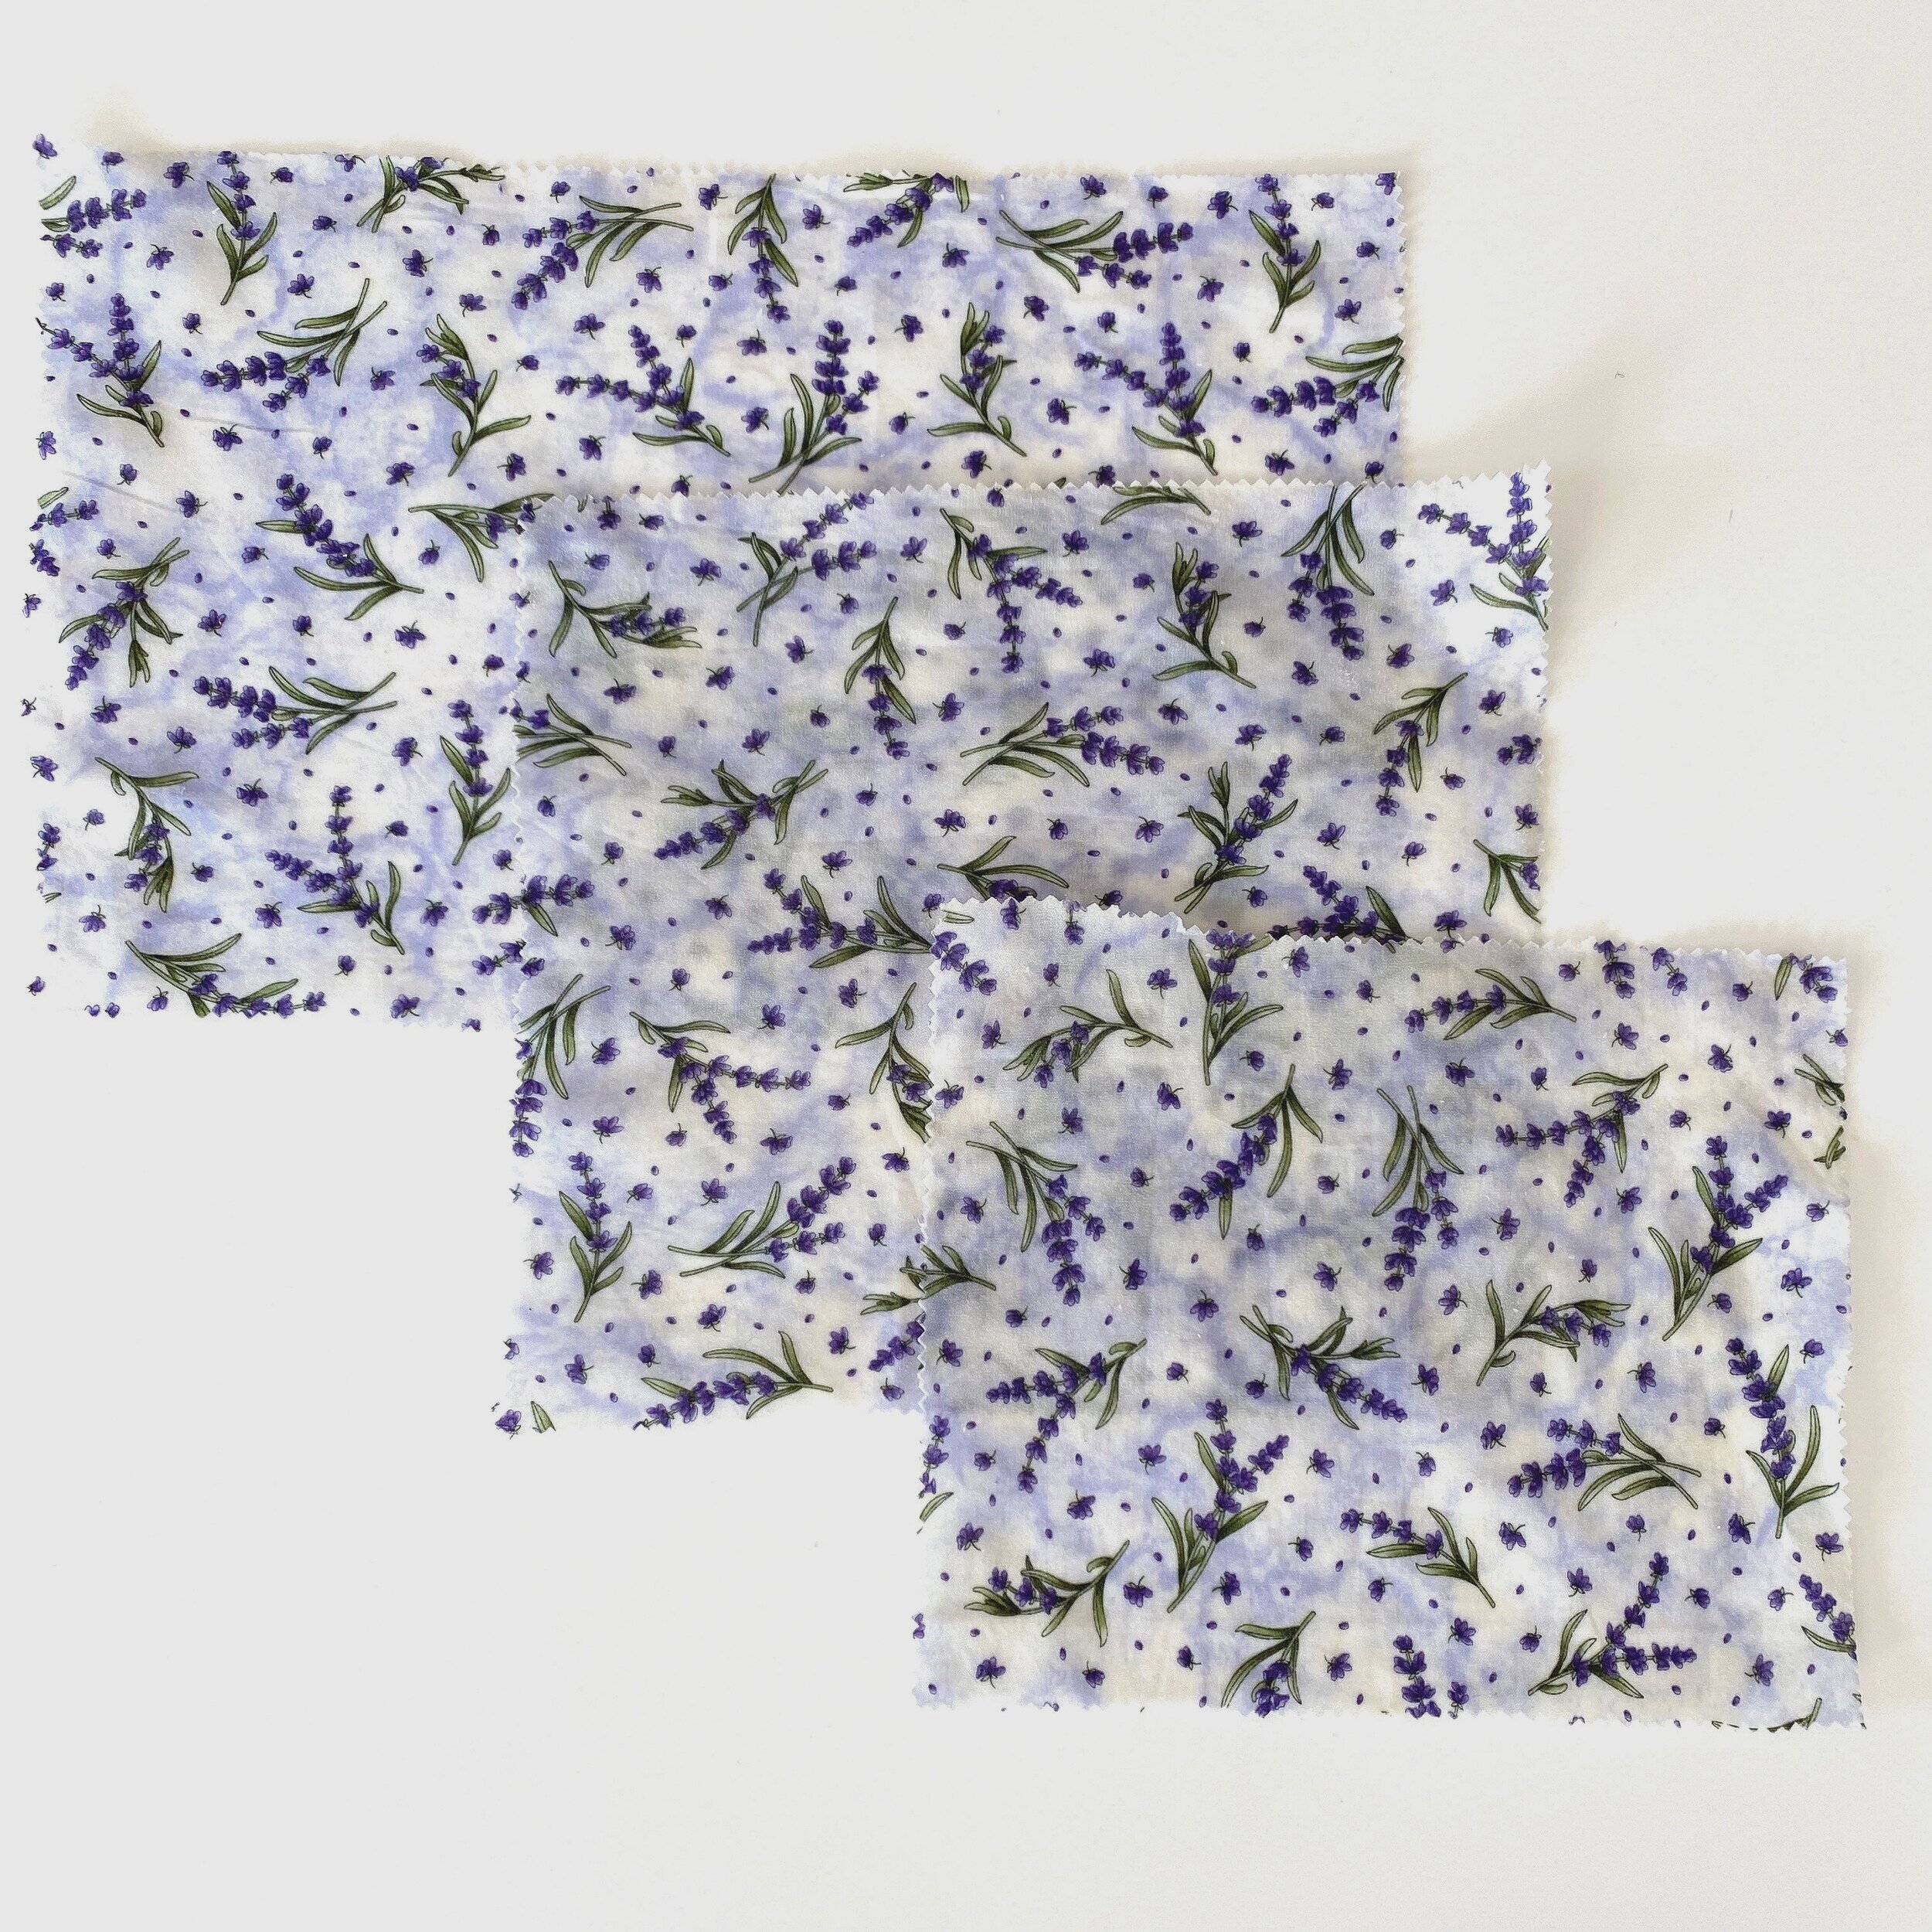
This recipe will make enough to coat about 5 large wraps. You can always double the recipe to do more at one time. Please keep in mind that the ingredients are natural, and therefore may have a slightly different viscosity that what I used.
Directions:
1. Prewash the fabric and dry it. You may prefer to iron it as well. Up to you.
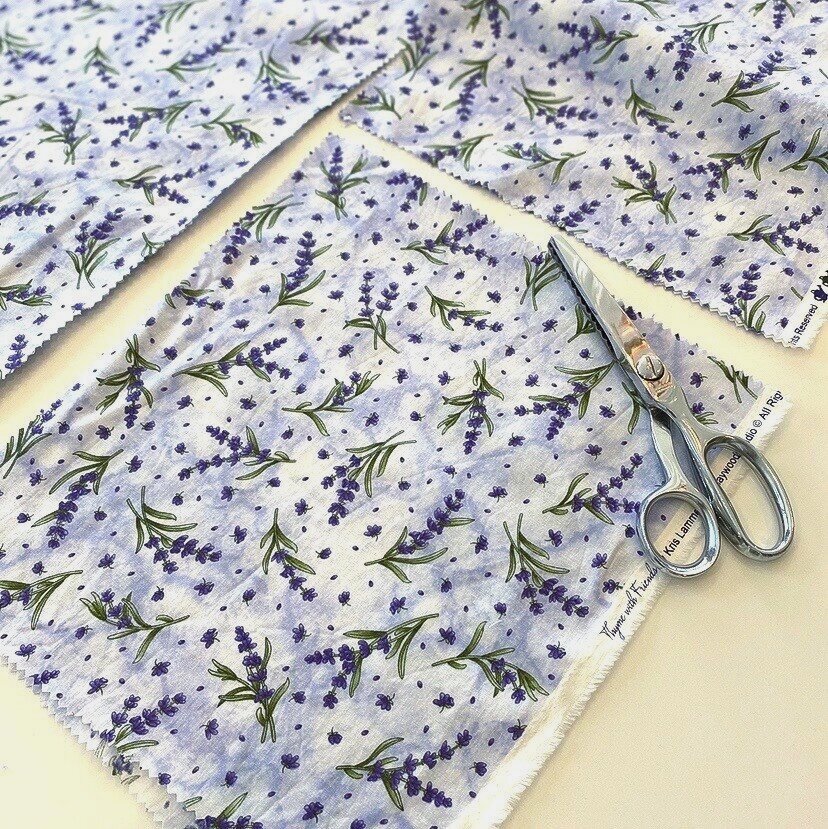
2. Cut your fabric into squares, rectangles or circles depending on the size of your food storage containers. I recommend using pinking shears, so the edges don’t fray. Once they are waxed, fraying shouldn’t be a problem, but it also looks nice.
3. Measure your jojoba oil and pine resin into a glass bowl or jar in a pot. This is a sticky business, so think carefully about the clean-up and whether you might prefer to use a glass mason jar that can go into the recycling bin, rather than your expensive cooking pots.
4. The water in your pot should come up high enough to cover the ingredients inside the glass container. Use a medium to high heat to boil the water and then turn it lower once boiling.
5. Once the pine resin is melted, add the beeswax. The ingredients will melt together within 20 minutes, stirring occasionally.

6. While they are melting turn your oven on to 300 degrees F.
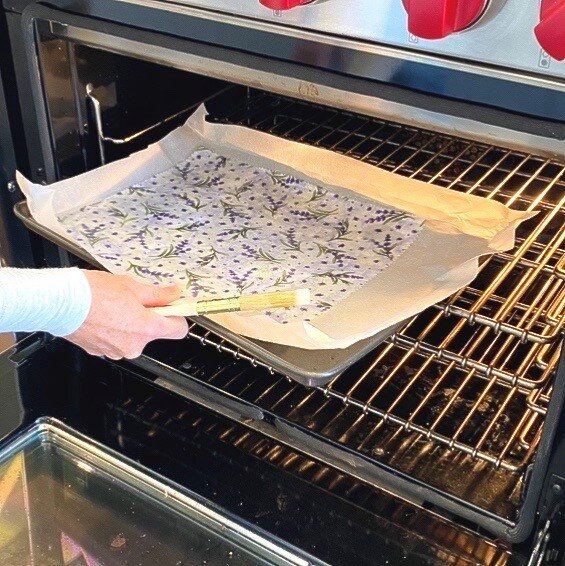
7. Use the parchment paper to cover your cookie sheet. Leave extra around the edges to catch drips. As a side note, you will want to consider the size of your cookie sheet when determining the size of your wraps. Don’t make your wrap bigger than your cookie sheet!
8. Put the cut fabric onto the cookie sheet. You can do more than one wrap at the same time if they fit.
9. Lightly brush the mixture onto the fabric. Don’t apply too thickly as too much wax makes more work to remove it. And don’t fuss with getting it perfectly even, it’s going to re-melt and get redistributed. You only have to do one side, as it will saturate through.

10. Put in the oven for about 2 minutes or until the fabric looks wet.
11. Take out and have a look. Any dry dull spots? Brush on a bit more mixture on the dry spots. Pop back in the oven for another minute to smooth any uneven spots. Don’t leave too long as the wrap can start to brown.
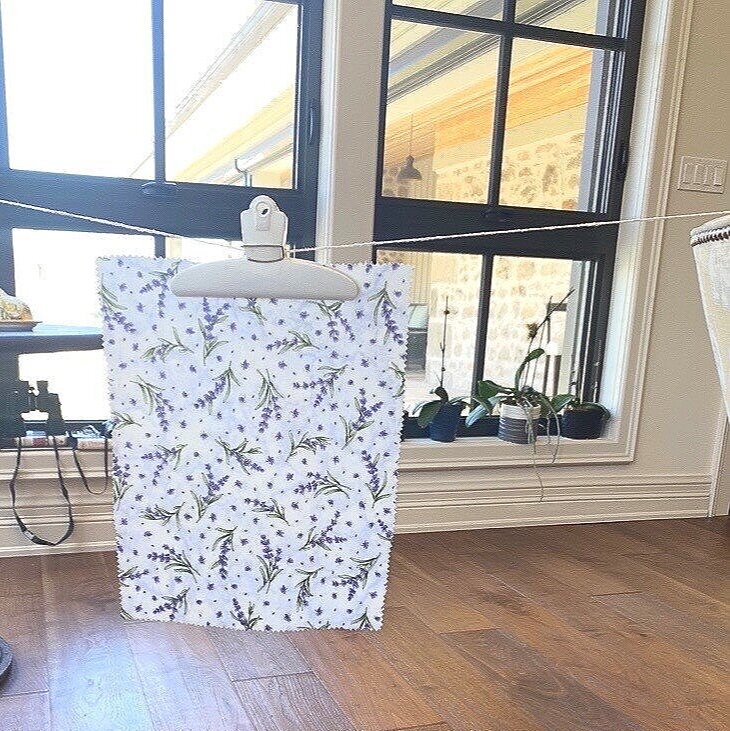
12. Once out of the oven, working quickly, place your next wrap on top of the hot wrap to soak up extra wax. Peel them apart and hang up the first wrap with clothespins. Figure out how to create a little clothesline in your work area. I used twine tied to 5 pound hand weights, draped over the backs of two kitchen chairs. Potato chip bag clips work if you don’t have clothespins.
13. Add some additional wax to the second wrap used to blot the first one and repeat.
*It’s a good idea to have one or more additional wraps already cut in case you need to soak up wax from the last one, or you end up with leftover hot wax.
Caring for your wraps…
Wash with a damp cloth and mild soap. Air dry. Best stored out of direct sunlight and warmth.
Please feel free to email me with any questions at hello@stonewellfarm.ca . I’d love to see how your efforts turn out. Send me a photo of your end result, and be sure to tag @stonewell_farm if you post on Instagram!